
These days, all Android smartphones come with at least one camera. Some of these cameras being rather good, users cannot help but take a lot of photos.
Unfortunately, it is easy to click so many photos that you end up using up a lot of space in your phone. The problem is exacerbated when you take videos as well.
In these situations, you will have to safely get the photos moved to the computer to free up the space in your phone.
Here are a few tips to help you do so when you have an Android phone.
Transferring with Google Drive
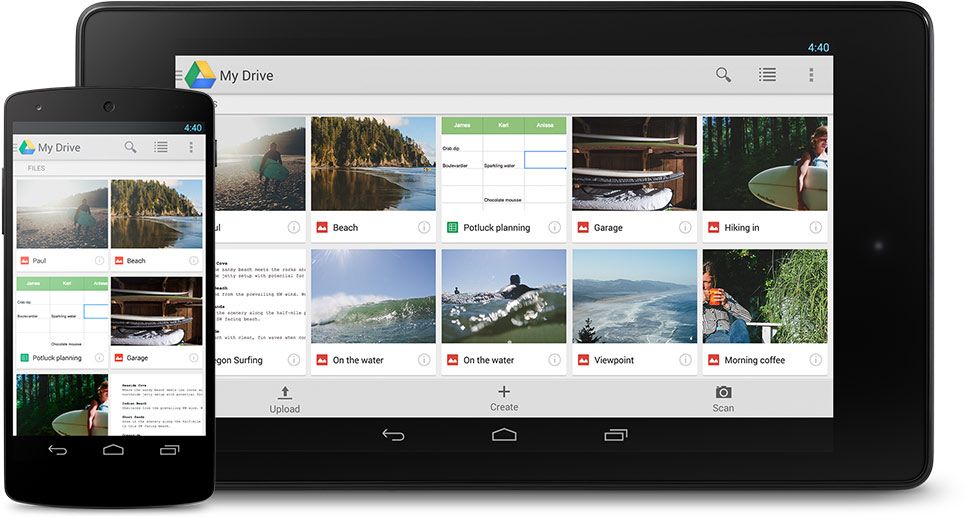
One of the simplest methods to transfer photos from Android is to use the Backup option of Google Drive. The app for this service is typically pre-installed on nearly all Android phones by default.
On enabling the option, all files will be automatically uploaded to your Google account in the background. All synced photos will remain private.
Therefore, there will not be any embarrassment caused because you unintentionally shared them with friends or family. The photos will always be accessible through your Google Drive.
In order to enable the backup option, you need to open the app first. Open up the menu button and access the settings menu.
Here, go to the auto backup option and turn it on. Your photos will be automatically uploaded to the Google Drive.
If you do not want to enable automatic syncing, you can upload each photo individually. To do so, you have to open the photo gallery app in your Android phone.
Select the picture or pictures you want to upload. Click on the share option and choose Google Drive. Your selected photos will now be uploaded.
Once uploaded, you can open Google Drive in your computer and download the photos into your hard drive.
How to transfer photos from Android: Google Photos
This is another excellent app for backing up your photos in your Android phone. It works in a similar fashion to Google Drive, having been created by the same people.
The only difference is that Google Photos is, as the name suggests, exclusively for your images and videos while Google Drive allows you to upload all kinds of images.
Another interesting feature of Google Photos is that it has a few simple editing options to improve your image.
Other useful tools include automatic creation of animations and slideshows with the Assistant and grouping of the files into collections.
To enable the backup option in Google Photos, open the app. Choose Settings from the menu located on the top. In Settings, select the Backup & Sync option. Enable it. However, there are a few other options here that you must know about.
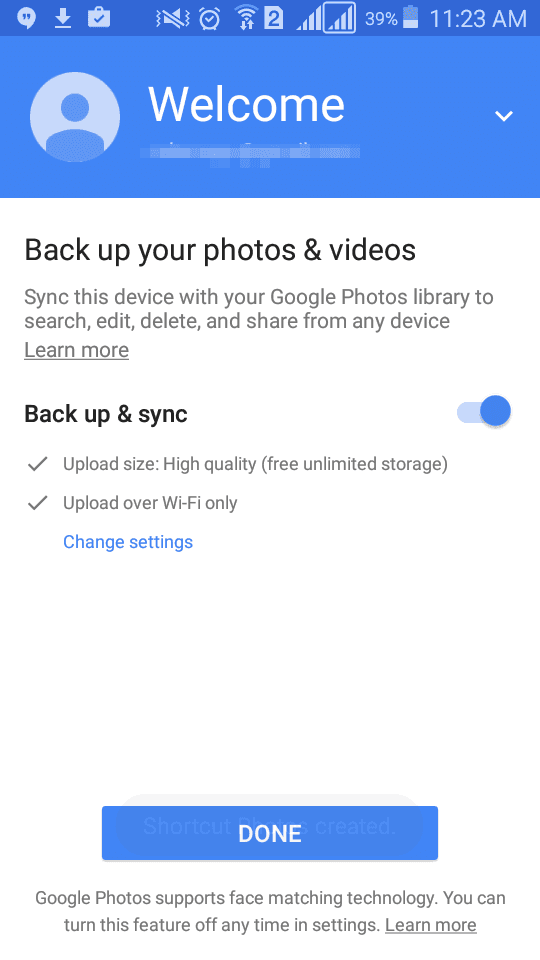
First, you need to select whether the photos should be uploaded over Wi-Fi only or cellular data as well.
Ensure that you have chosen Wi-Fi only or else you may end up hitting your cellular data cap early. Another thing you need to know is about the quality of the images.
Uploading in the original resolution will cause the photos to count against your Google Drive space.
Choose High Resolution to upload unlimited photos as long as the images are 16MP or less and the videos are 1080p or less.
Once uploaded, you can download the photos in your computer just like with Google Drive.
Transferring with Dropbox
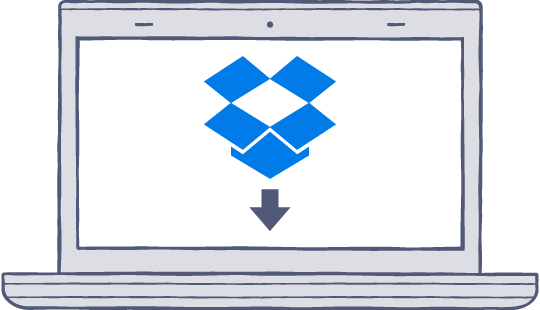
In order to transfer photos from Android, you can also use Dropbox. The process is similar to Google Drive as both are cloud storage options.
You will require the Dropbox app and have a Dropbox account. Open the app and sign in. Open the settings menu to find the option called Turn on camera upload.
You can now select which photos will be synced to your Dropbox storage. Make sure that you have selected Wi-Fi only for the sync.
You can install Dropbox in your computer. Once done, sign in.
A folder named Dropbox will be created in your computer. All of the photos that you have synced will appear here.
Transferring via USB

This is the simplest way to transfer photos from Android to your computer. However, you will have to be near your computer to use this process.
The great thing about Android is that it allows the files in the phone to be easily accessible by computers.
All you need to do is use a compatible USB cable to connect your phone to your computer.
If you are using a Windows computer, you can now access the files through Windows Explorer.
Simply navigate to the folder in the phone’s drive where the photos are stored. By default, this will be a folder named DCIM.
Simply transfer those images and videos to a folder in your computer. The process is a bit different if you are using a Mac.
You will require an application that allows you to transfer the photos from the Android device to your Mac.
Transferring via External Drives
These days, it has become quite easy to connect an external drive such as a flash drive or even an external hard disk to an Android phone.
All you require is the cable to connect the drive to the phone and the phone will do the rest when you wish to transfer photos from Android.
You can use almost any file management app to browse through the contents of the attached drive. There are several available in the Play Store.
Once connected, open that app. Select the images that you wish to transfer. Copy them or move them to a folder in the drive that you have connected.
Once copied or moved, you can simply disconnect the drive. Now, you can connect that drive to your computer.
Once connected, you can move those images to a folder in your computer.
There are actually quite a few options when it comes to moving your photos to the computer from your Android phone. It is even possible to use Facebook to do so.
Alternatively, you can also use a range of photo apps such as Flickr for this purpose.
Nice Post Jane!